


Welcome to the world of LED lights, where versatility and eco-friendliness go hand in hand. LED lights have become popular due to their energy efficiency and long lifespan. But can you reuse LED lights? Is it possible to remove them from one location and repurpose them elsewhere? The answer is a resounding "Yes!" In this comprehensive tutorial, we will guide you through the process of reusing LED lights, from removing them without damaging the paint to cutting, connecting, and storing them properly. So, let's dive in and discover the possibilities of reusing LED lights!
Part 1. Can You Reuse LED Lights? Of Course!
Of Course! LED lights are designed to be reusable, making them an excellent investment for long-term use. Unlike traditional incandescent bulbs, which often need to be replaced, LED lights can be easily removed, reinstalled, and repurposed. Their flexible and modular nature allows for customization and adaptation to different spaces and applications. So, if you're thinking of reusing your LED lights, rest assured that you're making a sustainable choice that will save you money in the long run.
Part 2. How to Take LED Strip Lights off Wall without Damaging Paint
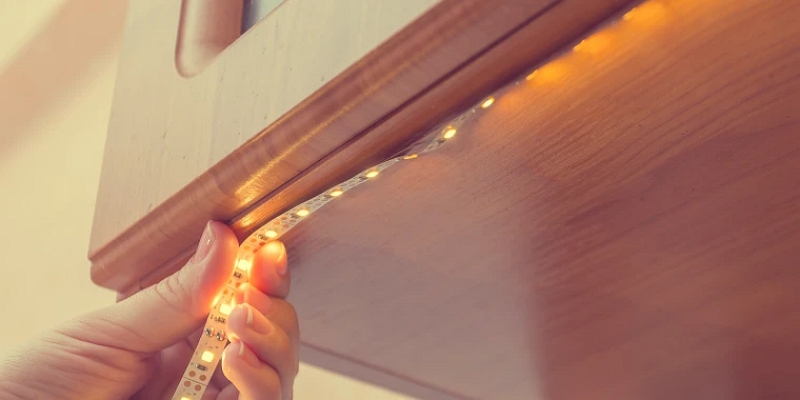
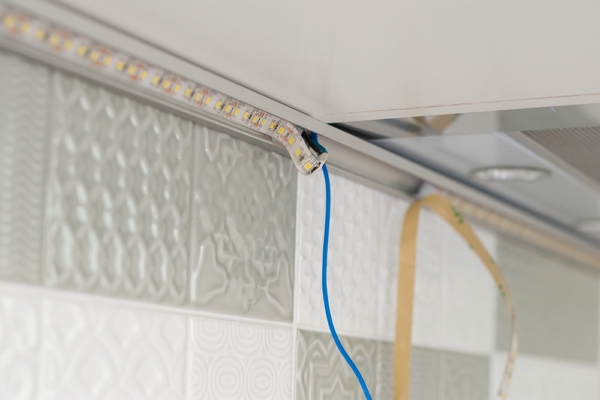
Removing LED strip lights from a wall requires careful handling to avoid any damage to the paint or the lights themselves. Follow these detailed step-by-step instructions to safely remove your LED strip lights and ensure that your walls remain unharmed for future use:
- Prepare the necessary tools: Before you begin, gather the tools you'll need, including a hairdryer or heat gun, a plastic pry tool or credit card, and a clean cloth.
- Disconnect the power supply: Turn off the power supply to the LED strip lights to avoid any electrical hazards during the removal process.
- Apply heat to the adhesive: Use a hair dryer or heat gun on a low heat setting and aim it at the area where the LED strip lights are attached to the wall. Gently heat the adhesive for a few minutes to soften it.
- Start removing the strip lights: Once the adhesive is softened, take a plastic pry tool or a credit card and carefully insert it between the strip lights and the wall. Apply gentle pressure to separate the adhesive bond. Move the pry tool along the length of the strip lights, gradually detaching them from the wall.
- Use additional heat if necessary: If you encounter stubborn adhesive spots, apply more heat to those areas to loosen the adhesive further. Be cautious not to overheat the LED lights or the wall surface.
- Clean the wall: After removing the LED strip lights, use a clean cloth or sponge dampened with warm water and mild soap to gently clean any residue or dirt left on the wall. Allow the wall to dry completely before proceeding to reattach the strip lights.
By following these detailed steps and taking the necessary precautions, you can safely remove LED strip lights from your wall without causing any damage to the paint or the lights themselves.
Part 3. How to Restick LED Lights on Wall
Now that your lights are successfully removed, can you restick LED lights in a different location? Well yes, you can! Here’s a detailed guide to help you achieve a secure and long-lasting attachment:
Clean the Surface
Before applying any adhesive, ensure that the surface is clean and free from dust, dirt, or any other contaminants. Use a mild cleaner or rubbing alcohol to wipe down the area where you plan to restick the LED lights. Allow the surface to dry completely.
Assess Your Adhesive Options
LED strip lights typically come with an adhesive backing. However, if the adhesive has lost its stickiness or you prefer a stronger bond, you may consider using additional adhesive options. Some popular choices include double-sided adhesive tape, adhesive glue, or adhesive mounting clips. Choose the option that best suits your needs and the surface you're attaching the lights to.
If you opt for double-sided adhesive tape, cut it into smaller pieces that match the length of your LED strip lights. This will make it easier to handle and ensure a more secure attachment.
Apply the Adhesive
Peel off the protective backing of the adhesive tape or apply the adhesive glue in a thin, even layer along the backside of the LED strip lights. Make sure to cover the entire length where the lights will be in contact with the surface.
Position and Press
Carefully position the LED strip lights onto the desired location and press firmly to ensure a strong bond. If you're using adhesive mounting clips, follow the manufacturer's instructions for attaching the clips to the surface and securing the LED lights.

Allow Proper Curing Time
Depending on the type of adhesive used, it's important to allow sufficient time for the adhesive to cure and create a strong bond. Follow the recommended curing time provided by the adhesive manufacturer before handling or adjusting the LED lights.
Part 4. How to Cut & Connect LED Strip Lights
LED strip lights come in various lengths, but what if you need to customize them to fit a specific area? Fear not! In this section, we will show you how to cut and connect LED strip lights with ease.
Cutting LED Strip Lights
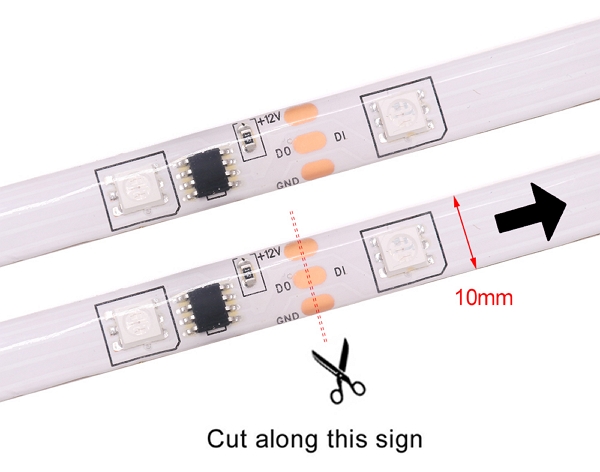
- Determine the cutting points: LED strip lights are typically marked with designated cutting points, usually indicated by small scissor icons or copper pads. These cutting points are where you can safely trim the strip without damaging the circuitry.
- Measure and mark: Use a ruler or tape measure to determine the desired length of the LED strip lights. Mark the cutting point with a pen or a small piece of tape, ensuring it aligns with the designated cutting point on the strip.
- Cut along the marked line: Using sharp scissors or a craft knife, carefully cut along the marked line. Make sure to follow the cutting point precisely to avoid any damage to the LED components.
- Test the cut section: Once the strip is cut, test the newly cut section by connecting it to the power supply. Ensure that the lights illuminate properly and that the cut end is not damaged or exposed.
Connecting LED Strip Lights
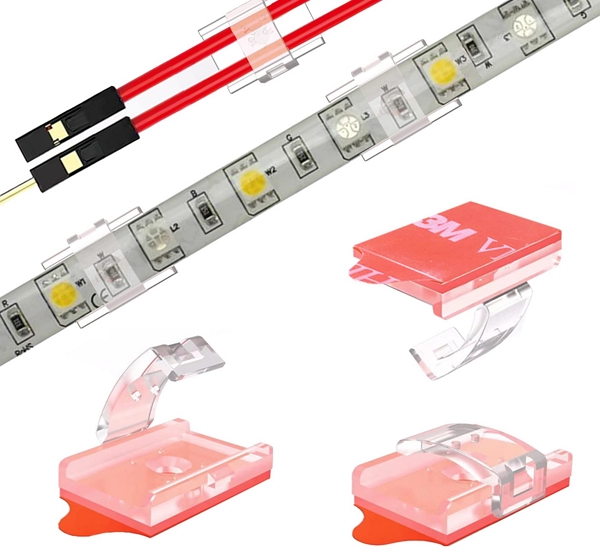
- Assess the connection type: LED strip lights can be connected using various methods, including soldering, connectors, or special adhesive connectors. Determine the type of connection method that is most suitable for your specific LED strip lights.
- Prepare the connection area: If soldering, carefully remove the protective coating on the copper pads at the ends of the LED strip lights. If using connectors, make sure the connector is compatible with your LED strip lights and prepare the connection area accordingly.
- Follow the connection method: Depending on the chosen connection method, follow the manufacturer's instructions or standard procedures for soldering or using connectors. Take necessary safety precautions and ensure proper insulation and secure connections.
- Test the connection: After completing the connection, test the LED strip lights to ensure that the connection is functioning correctly. Confirm that the lights illuminate uniformly across the entire length and that the connection is secure.

Part 5. How to Properly Store LED Strip Lights
Properly storing your LED strip lights is essential for preserving their longevity and ensuring optimal performance. To keep your LED lights in excellent condition until you're ready to reuse them, follow these valuable tips:
- Choose a dust-free storage location: Dust can accumulate on the surface of LED lights and impact their brightness. Store your LED strip lights in a clean and dust-free environment, such as a storage box or a sealed plastic bag.
- Avoid extreme temperatures: Extreme heat or cold can affect the adhesive and electrical components of LED lights. Store them in a location where the temperature remains relatively stable, away from direct sunlight, heaters, or freezing temperatures.
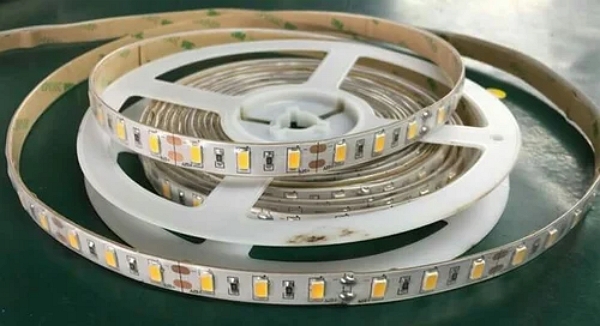
- Coil the LED strip lights properly: Carefully coil the LED strip lights to avoid kinks or damage to the wires. Start from one end and loosely wrap the strip, ensuring it stays tangle-free. You can secure the coil with twist ties or Velcro straps to keep it neat and organized.
- Label and organize: If you have multiple sets of LED strip lights, labeling and organizing them can save you time and effort when you need to reuse them. Use adhesive labels or markers to indicate the length, color, or specific purpose of each set.
- Protect the connectors and controllers: If your LED strip lights have separate connectors or controllers, make sure to detach them and store them safely. Keep them in a separate bag or container to prevent damage or loss.
Bonus: The Perfect LED Strip Lights You Cannot Miss!
The AiDot WiFi RGBIC LED Strip Lights with HDMI Sync Box is a cutting-edge lighting solution designed to enhance your entertainment experience. The HDMI sync controller box allows for easy integration with any HDMI 2.0 source, ensuring real-time color synchronization with the content on your screen. With up to 16 million colors, vibrant illumination, and various modes to choose from, you can create captivating lighting effects that perfectly match your mood.
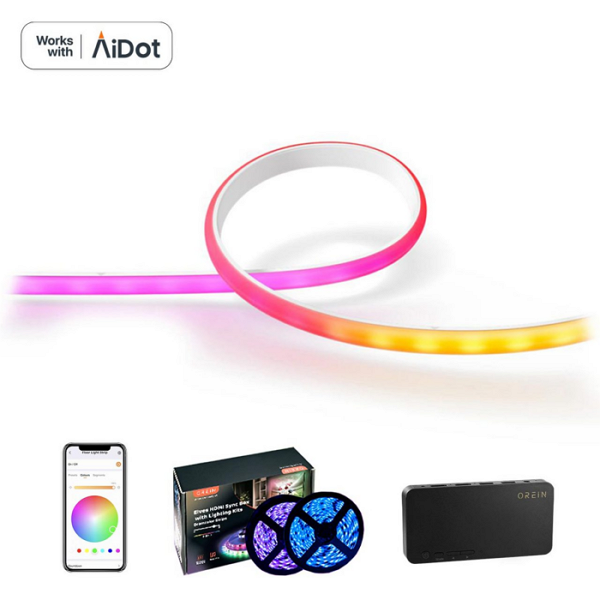
- HDMI Sync Box for real-time color synchronization
- Up to 16 million colors and vibrant illumination
- Multiple modes including screen modes, music modes, and scene modes
- Voice control compatibility with Alexa, Google Assistant, and SmartThings
- Intuitive control through the AiDot App
- Auto Refill Function for an enhanced viewing experience
- HDMI synchronous controller for accurate color reproduction
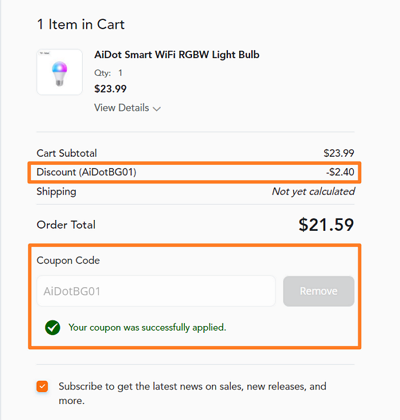
[Bonus Now]: Here is an exclusive coupon code only found in blog posts. Save it now (AiDotBG01) and get 10% off at AiDot mall!
Conclusion
Congratulations! You've reached the end of this LED strip light tutorial, and we hope you've gained valuable insights into how to reuse, restick, cut, connect, and store your LED lights. With this knowledge, you can now customize your lighting to fit any space, mood, or occasion and unleash your creativity to transform any room.
And if you're looking for the ultimate LED strip light experience, look no further than the AiDot WiFi RGBIC LED Strip Lights with HDMI Sync Box. With its endless features and customization options, you'll be able to immerse yourself in a captivating, dynamic, and colorful world that syncs with your music, movies, and games.